Domain Chief
Verify your domain on Domain Chief with Reloop.
Domain Chief can use Reloop Auto-populate when nameservers match. Manual steps are always available as a fallback.
First, log in to Reloop and add a domain.
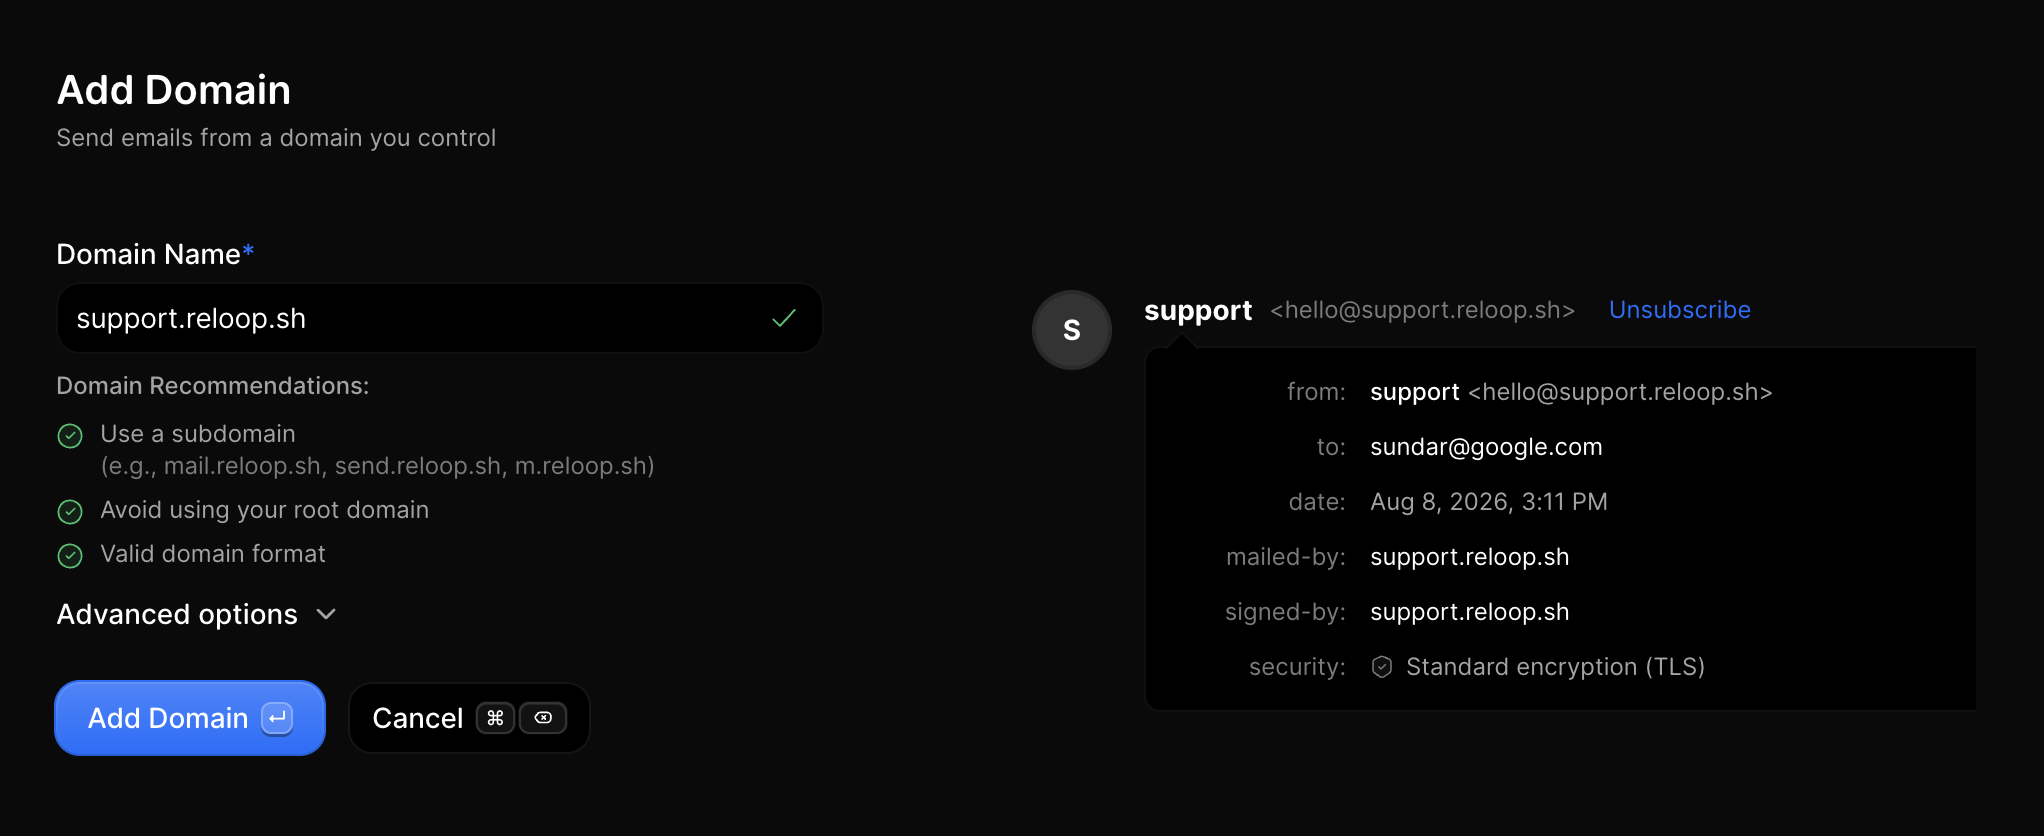
Automatic setup (recommended)
The fastest way to verify your domain on Domain Chief is Auto populate in Reloop. This uses Domain Connect — Domain Chief indexes public templates automatically (Domain Chief Domain Connect).
- Go to your Domains page in Reloop and open the domain.
- Check Email Receiving before Auto-populate. New domains start with Receiving on, so inbound MX (
inbound.reloop.sh) is usually included. Turn Email Receiving off first if this hostname must keep Google Workspace / Microsoft 365 — or use a subdomain. Learn more below. - Click Auto populate (shown when Reloop detects Domain Chief nameservers).
- Authorize Reloop in Domain Chief and approve the records.
- Return to Reloop and click Verify & finish (setup) or Verify Domain (detail) to start checks.
Verification often finishes within a few minutes after DNS publishes; allow longer if resolvers are slow (propagation).
If Auto-populate fails or Reloop does not offer it, use Manual setup below. See also Auto-populate DNS and Auto-populate failed.
Manual setup
If you prefer to add DNS records manually, follow these steps. Always copy Type / Name / Value from your domain page in Reloop — examples below use placeholders.
Log in to Domain Chief
Log in to Domain Chief and open DNS for the domain whose nameservers match ns.domainchief.app / .eu / .nl / .net.
Domain Chief → select domain → DNS.
If Reloop or dig NS yourdomain.com shows a different host, stop and edit that host instead — see Wrong nameservers.
Add TXT SPF record
Add a record in Domain Chief:
- Set the Type to
TXT. - Set the Name to the host Reloop shows (e.g.
teamor@). - Copy the TXT value from Reloop (typically
v=spf1 include:reloop.sh -all). - Use
Autoor the provider default for TTL. - Save.
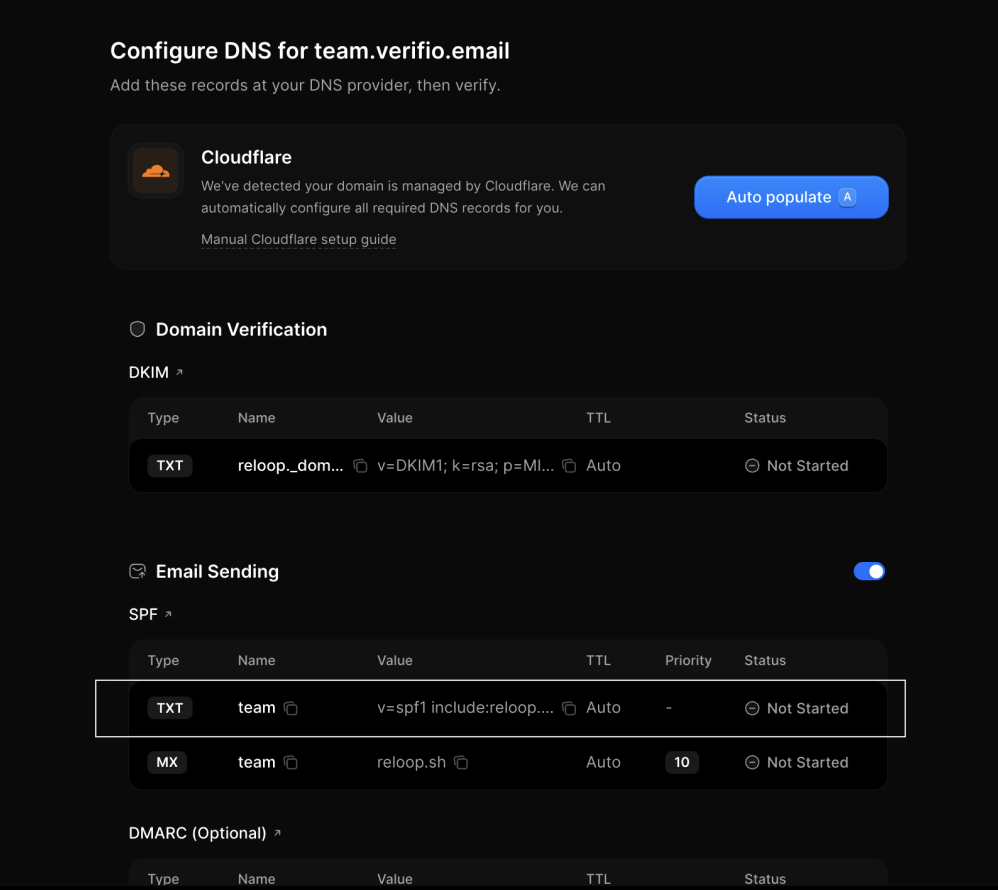
| Domain Chief | Reloop | Example value |
|---|---|---|
| Type | Type | TXT |
| Name / Host | Name | team (or @ for the root) |
| Value / Content | Value | v=spf1 include:reloop.sh -all |
| TTL | TTL | Auto |
Add TXT DKIM record
Add a record in Domain Chief:
- Set the Type to
TXT. - Set the Name from Reloop (selector is usually
reloop._domainkey). Under an apex zone this may bereloop._domainkey.team. - Copy the full TXT value from Reloop into the value field (
v=DKIM1; k=rsa; p=…). - Use
Autoor the provider default for TTL. - Save.
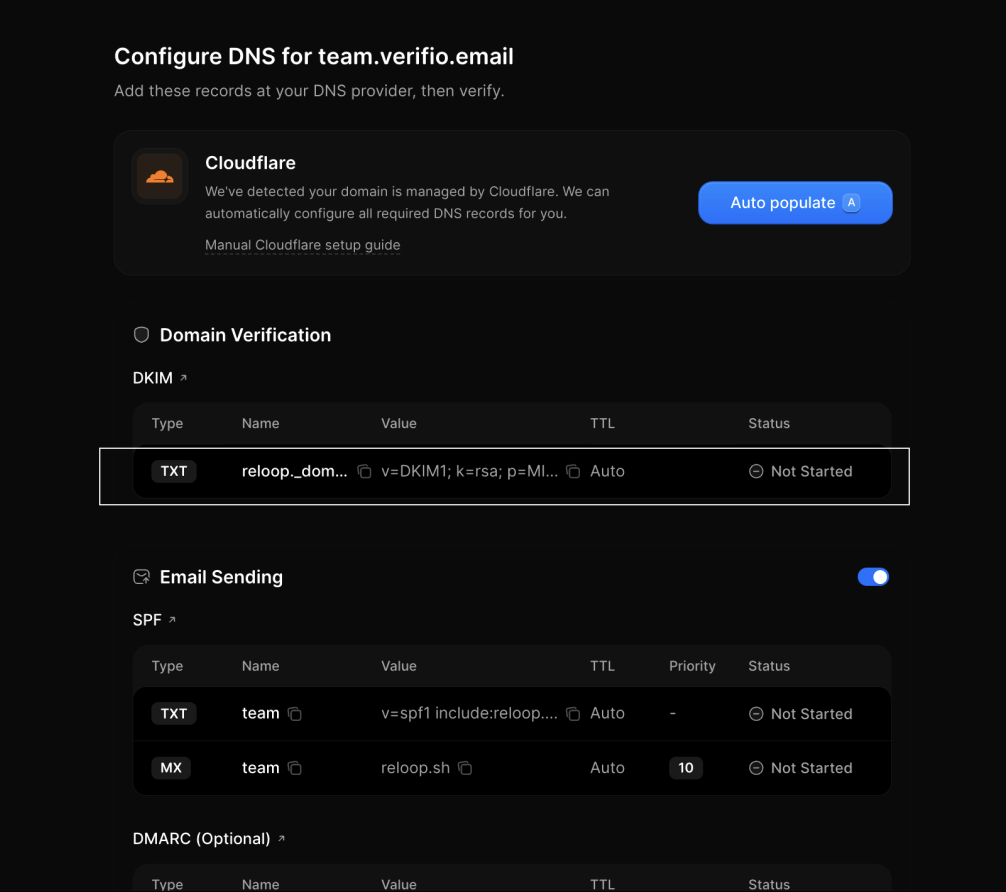
| Domain Chief | Reloop | Example value |
|---|---|---|
| Type | Type | TXT |
| Name / Host | Name | reloop._domainkey (or reloop._domainkey.team under the apex zone) |
| Value / Content | Value | v=DKIM1; k=rsa; p=… (unique per domain) |
| TTL | TTL | Auto |
Receiving emails
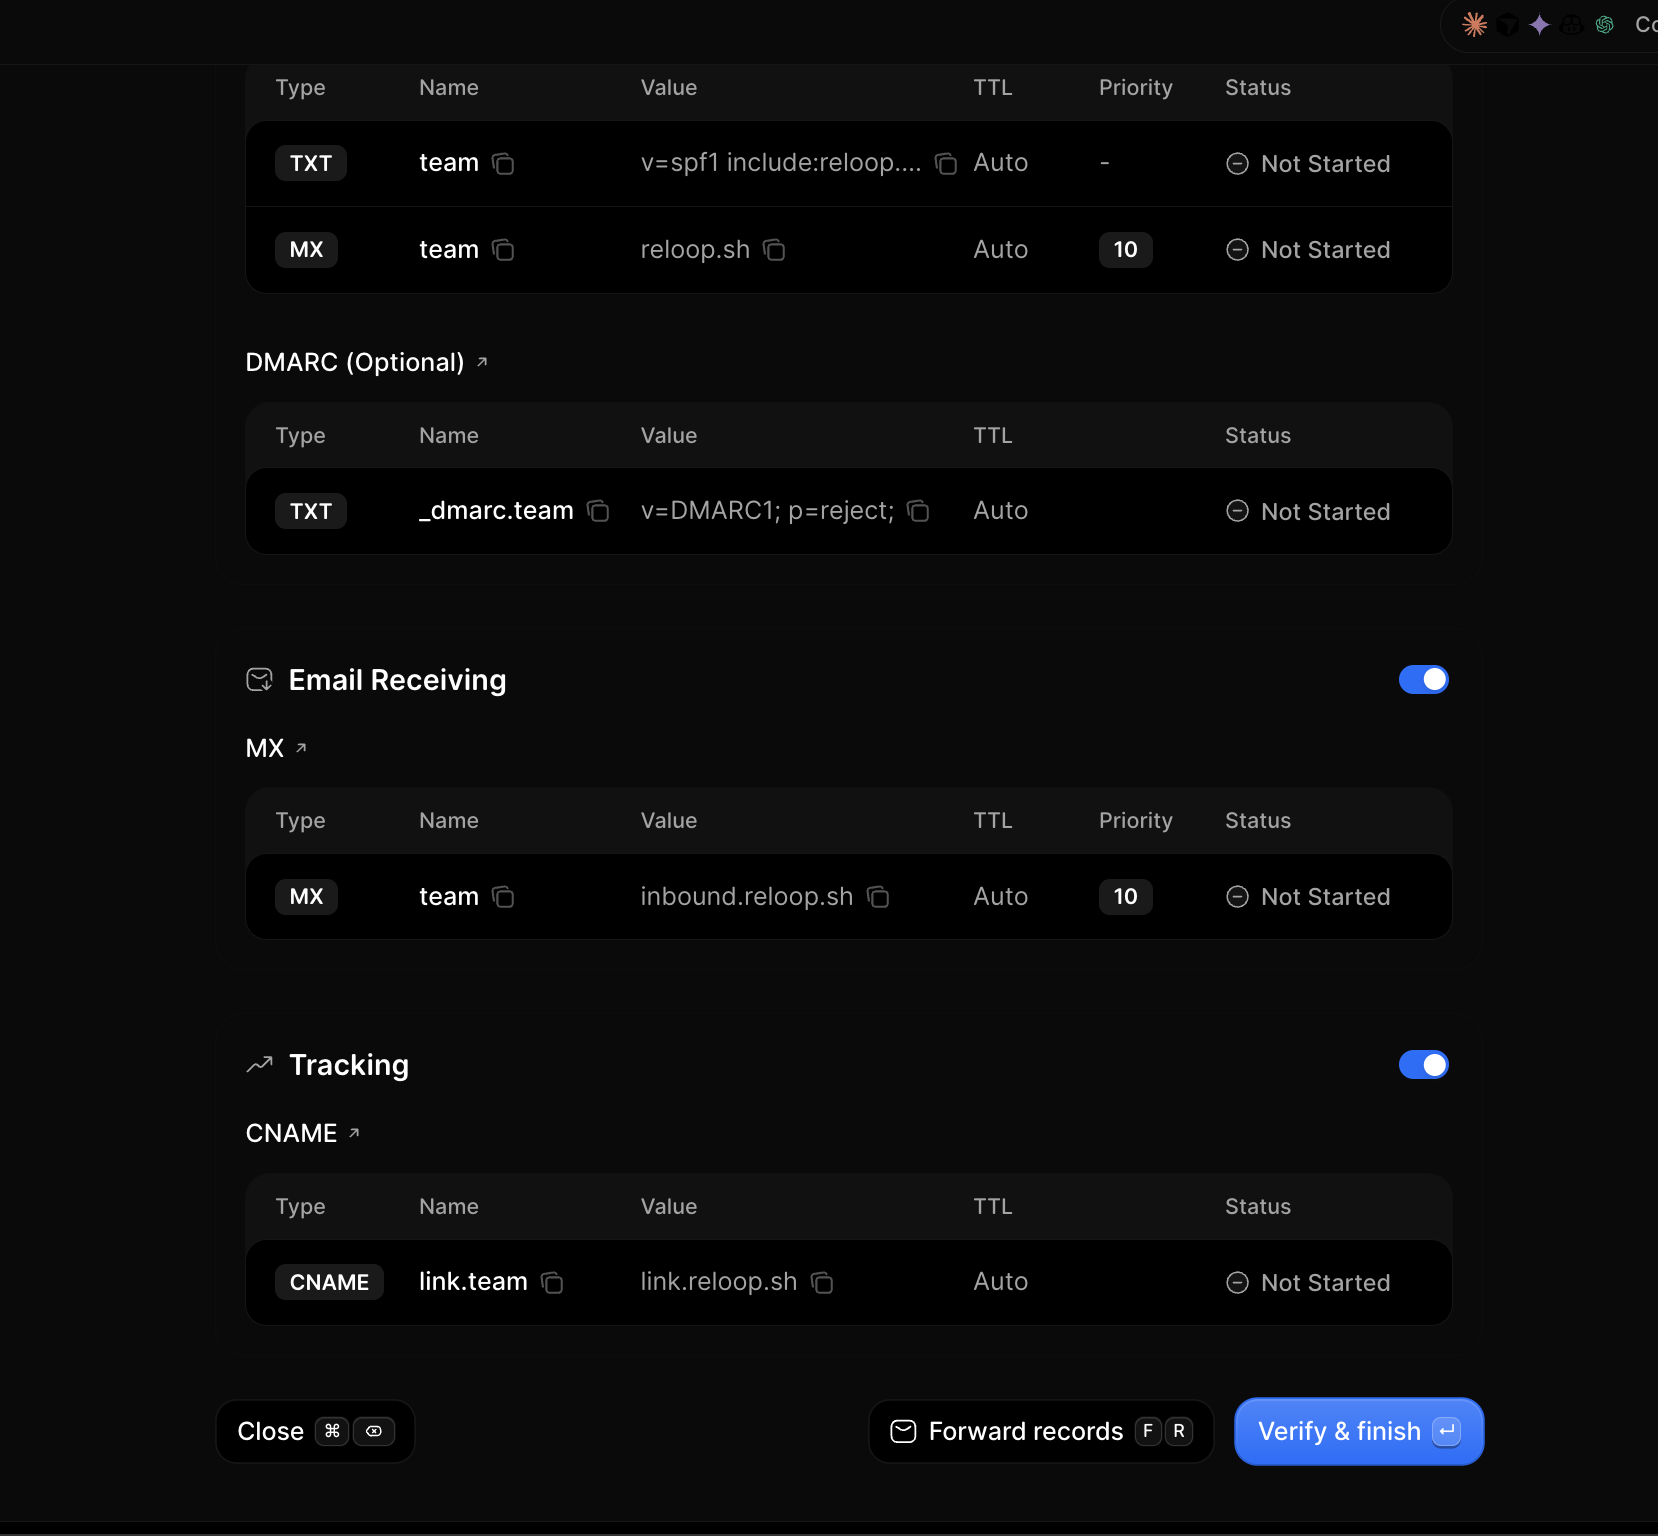
Email Receiving is on by default for new domains. If it stays on, add the inbound MX in Domain Chief:
- Set the Type to
MX. - Set the Name to the host Reloop shows (e.g.
teamor@). - Copy the MX value from Reloop (typically
inbound.reloop.sh). - Use
Autoor the provider default for TTL. - Set Priority as shown in Reloop (often
10). - Save.
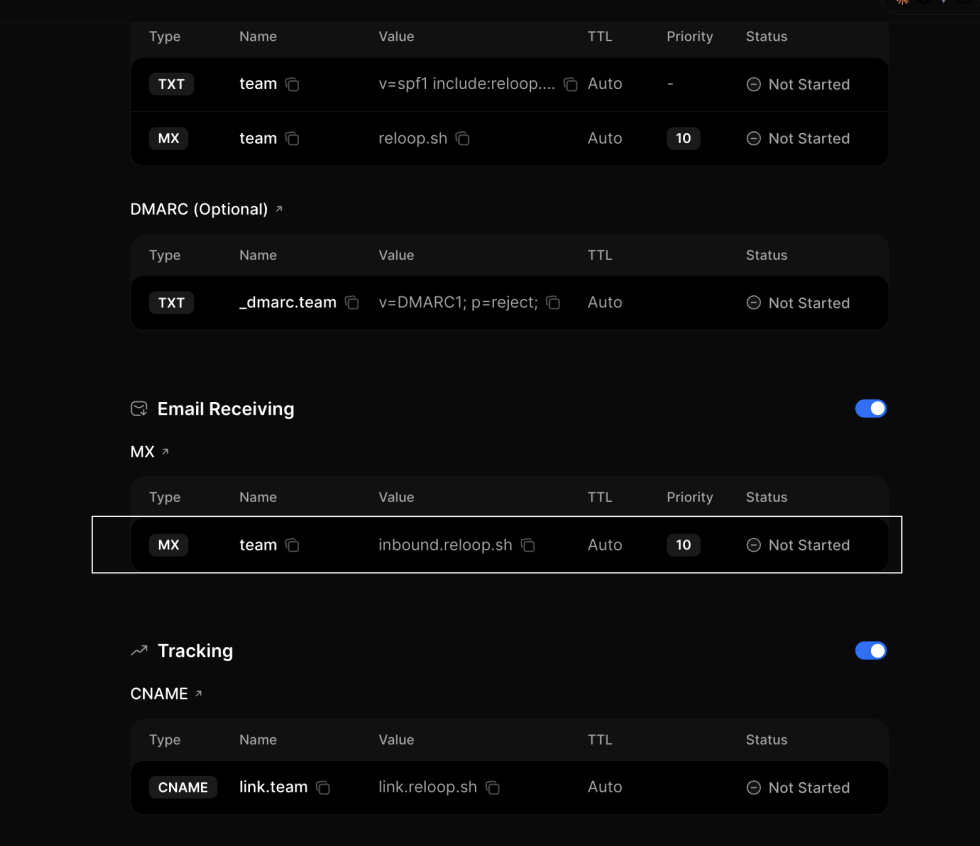
| Domain Chief | Reloop | Example value |
|---|---|---|
| Type | Type | MX |
| Name / Host | Name | team (or @ for the root) |
| Value / Mail server | Value | inbound.reloop.sh |
| Priority | Priority | 10 |
| TTL | TTL | Auto |
Complete verification
Return to Domains in Reloop. On the setup page click Verify & finish; on the domain detail page click Verify Domain (menu: Re-verify DNS). It may take a few minutes (rarely up to 48–72 hours) — see propagation.
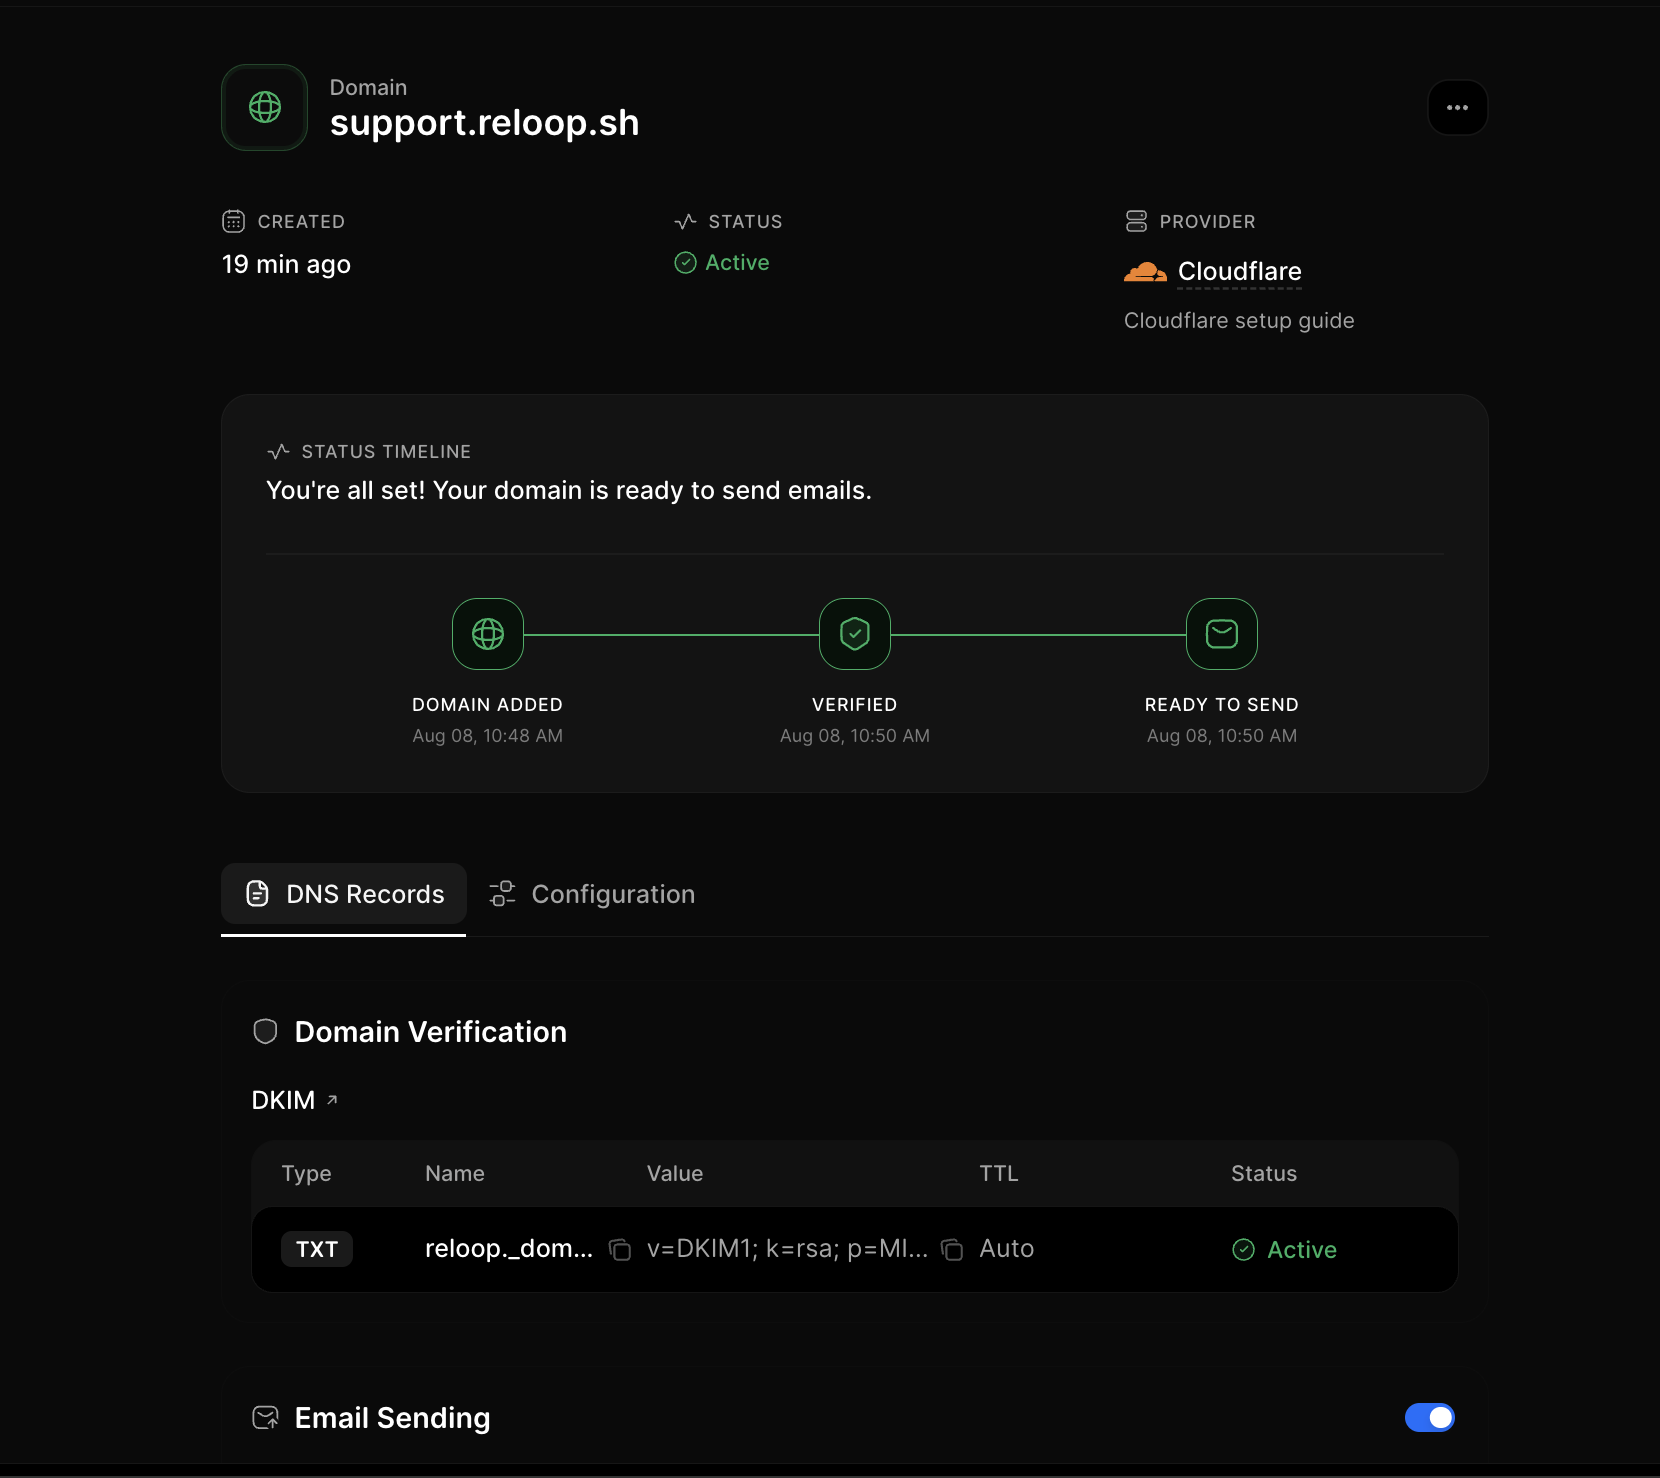
When verification succeeds, Reloop shows You're all set! — Domain added → Verified → Ready to send. Your domain is verified and you are good to go.
Domain Chief-specific notes
- Domain Chief auto-indexes public Domain Connect templates — prefer Auto populate when Reloop offers it.
- Auto-populate only works when public nameservers point at Domain Chief.
- DMARC is required for verification when Email Sending is on (keep an existing policy if you already have one). Tracking CNAME is on by default for new domains — host is usually
linkon apex, orlink.<sub>for subdomains; copy from the dashboard.
Troubleshooting
If your domain is not successfully verified, try these common fixes.
Related
Was this page helpful?