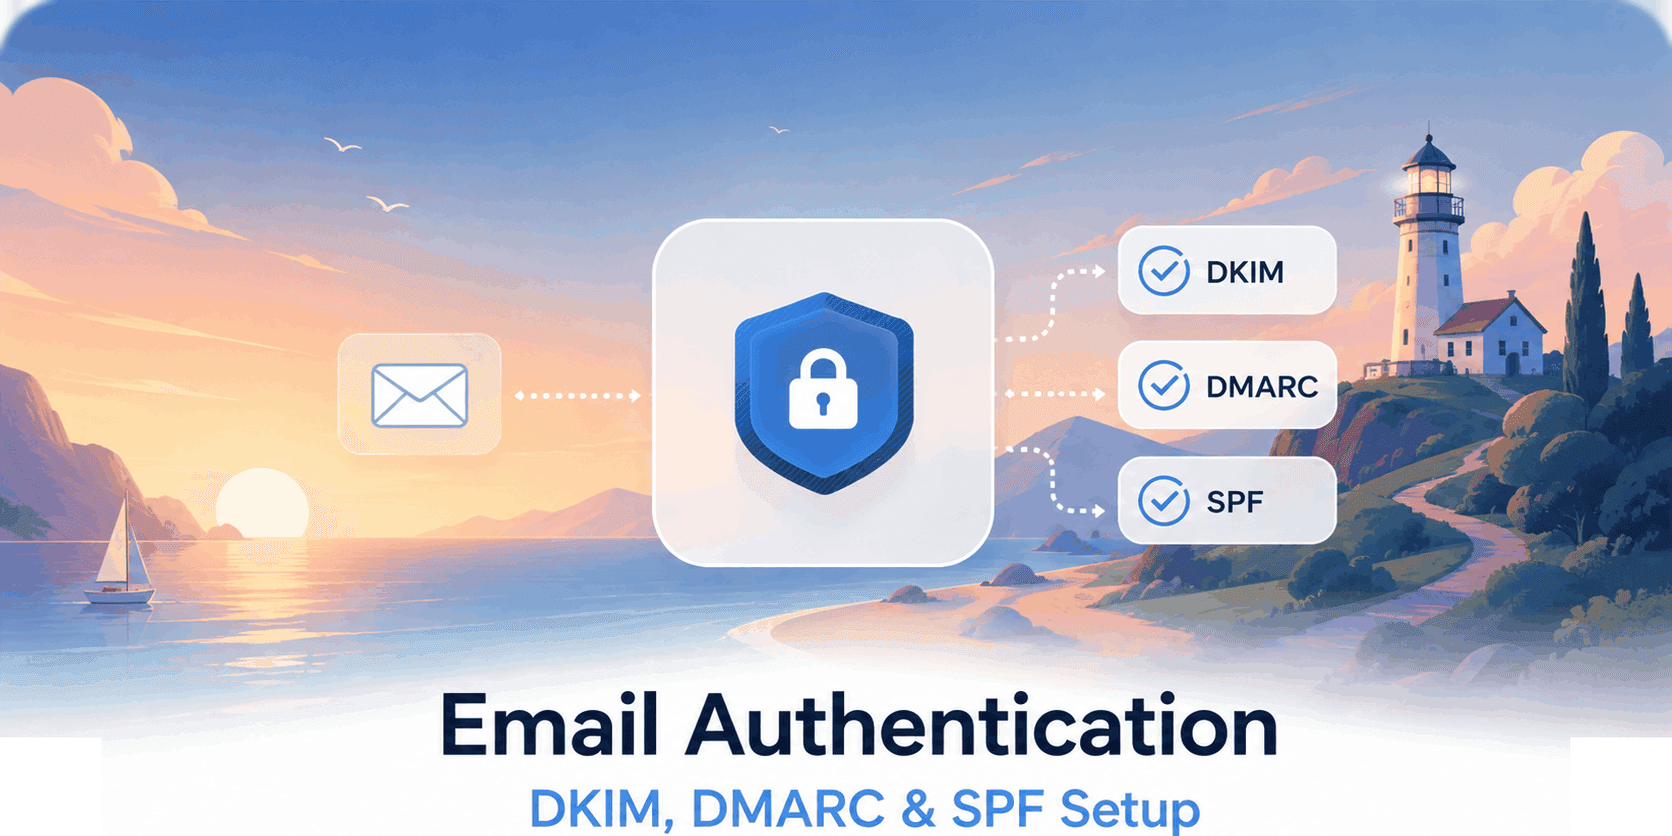
A thorough, practical guide to configuring SPF, DKIM, and DMARC for your sending domain with exact DNS records, common mistakes, and a step-by-step verification checklist.
Email authentication is no longer optionalwithout SPF, DKIM, and DMARC properly configured, your transactional emails will consistently land in spam or be dropped by inbox providers.
When email protocols were originally designed in the 1970s, there was zero built-in identity verification. Anyone could inject arbitrary sender addresses into the From: header. Over subsequent decades, SPF (Sender Policy Framework), DKIM (DomainKeys Identified Mail), and DMARC (Domain-based Message Authentication, Reporting & Conformance) were introduced to close this vulnerability.
In 2024, Google, Yahoo, and Microsoft made all three protocols strictly mandatory for senders. If you are sending transactional emails today without valid authentication records, you are battling deliverability with both hands tied behind your back (see our deep dive on why emails land in spam and how to fix it).
This guide walks you through configuring all three authentication layers correctly, in the exact sequence required, and verifying them with real-world tools before sending your first production message.
Step 1: SPF (Sender Policy Framework)
SPF is a DNS TXT record that explicitly declares which mail transfer agents and IP addresses are authorized to send email on behalf of your domain.
When a mailbox provider (like Gmail or Outlook) receives a message claiming to come from you@yourdomain.com, it queries the SPF TXT record for yourdomain.com and checks whether the originating IP address is authorized. If the sender IP is not on that list, the message fails SPF evaluationand depending on your DMARC policy, it will be marked as spam or rejected outright.
What an SPF record looks like
v=spf1 include:_spf.reloop.sh ~allBreaking down the core components:
v=spf1declares this record as an SPF version 1 specification (must appear at the very beginning).include:_spf.reloop.shauthorizes all IP addresses published in Reloop's sending pool to dispatch emails for your domain.~allspecifies a SoftFail policy for unauthorized IPs. This signals to receiving servers that unlisted IPs should be treated with suspicion, while allowing legitimate messages through during testing. Once your records are fully validated, you can graduate to-all(HardFail).
How to add your SPF record
- Log in to your DNS management console (Cloudflare, AWS Route 53, Namecheap, GoDaddy, etc.).
- Create a new TXT record on your sending domain (
@oryourdomain.com). - Set the record value to:
v=spf1 include:_spf.reloop.sh ~all - Set the TTL (Time to Live) to 300 seconds (a low TTL ensures quick propagation while debugging; increase to 3600+ after confirming delivery).
The most common SPF mistake: Multiple TXT records
Never create two SPF records for the same domain. DNS RFC specifications strictly permit only one SPF TXT record per hostname. If you maintain multiple sending services (such as Reloop for transactional emails alongside Google Workspace for corporate email), you must combine them into a single consolidated string:
v=spf1 include:_spf.reloop.sh include:_spf.google.com ~allThe 10-DNS-Lookup Limit: SPF specifications enforce a strict limit of 10 DNS lookups during recursive evaluation. Each
include:,a,mx,ptr, andexistsmechanism counts toward this quota. Exceeding 10 lookups triggers an immediatePermErrorvalidation failure. If you use numerous external providers, use an SPF flattening utility or consolidate providers.
Verifying your SPF record
You can verify your DNS publication immediately using standard CLI utilities:
dig TXT yourdomain.com +short | grep spfAlternatively, use the MXToolbox SPF Lookup web tool. You should see a single TXT entry returned with your authorized include: directives.
Step 2: DKIM (DomainKeys Identified Mail)
DKIM adds an asymmetric cryptographic signature to every outgoing email header, guaranteeing that the message was not forged or tampered with in transit.
When Reloop's delivery engine transmits an email, it calculates a hash of the headers and body, signs that hash with your private key, and embeds a DKIM-Signature header. The receiving mail server queries the corresponding public key published in your DNS, decrypts the signature, and verifies the hash matches. If the cryptographic signature matches, the recipient is assured that the email genuinely originated from your server and arrived intact.
How Reloop handles DKIM
When you register a sending domain in the Reloop dashboard, Reloop automatically provisions a dedicated 2048-bit RSA cryptographic key pair unique to your domain:
- Private Key: Kept strictly confidential in Reloop's database and used by Reloop's KumoMTA sending engine to sign outgoing emails at send-time.
- Public Key: Formatted as a standard DKIM DNS TXT record that you publish to your DNS provider under the
reloop._domainkeyselector.
What Reloop's DKIM record looks like
You will receive a DNS TXT record structured as follows:
reloop._domainkeyv=DKIM1; k=rsa; p=MIIBIjANBgkqhkiG9w0BAQEFAAOCAQ8AMIIBCgKCAQEA...Add the record exactly as shown in your Reloop dashboard. The selector reloop tells receiving mail servers which public key record to look up when verifying signatures from your domain.
Verifying your DKIM record
To confirm that your DKIM TXT record resolves properly in DNS:
dig TXT reloop._domainkey.yourdomain.com +shortYou should see the published TXT record returned containing v=DKIM1; k=rsa; p=....
You can also send a test email to mail-tester.com or check your raw message headers to inspect the evaluated DKIM: PASS (selector=reloop) status.
Why DKIM sometimes fails after setup
- DNS propagation delay: DNS record updates can take anywhere from 15 minutes to 24 hours to propagate globally across resolver caches.
- Accidental quote wrapping or truncation: Some DNS providers (like Namecheap or GoDaddy) limit TXT record lengths or wrap strings in double quotes. Ensure the entire
p=public key string is pasted without truncation or extra quotes. - Hostname duplication: A frequent mistake is entering the full domain twice (e.g.
reloop._domainkey.yourdomain.com.yourdomain.com). If your DNS provider automatically appends your domain, enter onlyreloop._domainkey.
Step 3: DMARC (Domain-based Message Authentication, Reporting & Conformance)
DMARC is the overarching policy and reporting framework that instructs receiving mail servers on how to handle messages that fail SPF or DKIM validation.
Without DMARC, receiving servers must guess whether an unauthenticated email is malicious spoofing or simply a misconfigured server. DMARC gives you explicit control over enforcement, while instructing receiving servers to send XML telemetry reports regarding all messages delivered under your domain identity.
The three DMARC policy modes
p=nonep=quarantinep=rejectAlways begin your DMARC rollout at p=none. Never jump straight to p=reject on day one. You need a minimum observation period (typically 2 to 4 weeks) to confirm that all legitimate outbound mail streams (transactional alerts, invoices, support platforms) are passing alignment.
Your starter DMARC record
v=DMARC1; p=none; rua=mailto:dmarc@yourdomain.com; ruf=mailto:dmarc@yourdomain.com; fo=1Deconstructing the DMARC parameters:
v=DMARC1identifies this record as DMARC protocol version 1 (must be the first tag).p=nonesets the monitoring policy so no valid messages are blocked during initial testing.rua=mailto:dmarc@yourdomain.comthe destination email address for daily aggregate XML reports (summary metrics across all receivers).ruf=mailto:dmarc@yourdomain.comthe destination email address for real-time forensic failure reports (sample headers of failed messages).fo=1generates forensic failure notifications if either SPF or DKIM fails alignment.
How to add your DMARC record
- In your DNS dashboard, create a new TXT record.
- In the Host / Name field, enter:
_dmarc(or_dmarc.yourdomain.comdepending on your provider). - In the Value / Content field, paste the DMARC record string above.
- Save the record with a 300 second TTL.
# Verify DMARC in DNSdig TXT _dmarc.yourdomain.com +shortUnderstanding DMARC Identifier Alignment
DMARC evaluation requires identifier alignment between the header From: domain and the authenticated domains.
An email passes DMARC if either of the following conditions is met:
- SPF Alignment: The domain validated in the envelope sender (
Return-Path/Mail From) matches the domain in the user-visibleFrom:header. - DKIM Alignment: The domain specified in the
d=tag of a validDKIM-Signatureheader matches the domain in the user-visibleFrom:header.
Because third-party email forwarders and mailing lists often break SPF by altering sending IPs, DKIM alignment is crucial for reliable DMARC compliance.
Analyzing DMARC reports
Aggregate DMARC reports arrive as compressed XML files. Rather than reading raw XML, connect your reporting mailbox to free analysis tools such as DMARC Analyzer, Postmark DMARC Monitor, or Valimail.
Key metrics to monitor in your reports:
- Authentication Pass Rate: Your legitimate sending services should maintain a 99%+ pass rate.
- Unrecognized Sending Sources: Identify rogue marketing tools, unconfigured staging environments, or spoofing attempts sending under your brand.
Graduating your DMARC policy to full enforcement
Once your reports confirm that 100% of your legitimate outbound mail passes SPF and DKIM:
-
Step 1 Gradual Quarantine:
textv=DMARC1; p=quarantine; pct=10; rua=mailto:dmarc@yourdomain.comThe
pct=10parameter applies quarantine enforcement to only 10% of failing messages. -
Step 2 Full Quarantine: After 2 weeks with zero legitimate delivery issues, remove
pct=10(or setpct=100):textv=DMARC1; p=quarantine; rua=mailto:dmarc@yourdomain.com -
Step 3 Strict Reject Enforcement: Upgrade your policy to
p=rejectto completely neutralize email spoofing:textv=DMARC1; p=reject; rua=mailto:dmarc@yourdomain.com
At p=reject, you are also eligible to configure BIMI (Brand Indicators for Message Identification) to display your official brand logo in user inboxes.
The complete verification checklist
Run through this pre-flight checklist before routing production traffic:
- Single SPF record:
dig TXT yourdomain.comreturns exactly one consolidated SPF TXT record without duplicate tags. - SPF lookup limit under 10: The record contains fewer than 10 total DNS lookups.
- Reloop SPF included: The SPF string contains
include:_spf.reloop.sh. - DKIM TXT record active:
dig TXT reloop._domainkey.yourdomain.comresolves with your valid public key. - DMARC TXT record in place:
_dmarc.yourdomain.comis published with at leastp=noneand a workingruareport destination. - Mail-Tester test passed: Send a message to mail-tester.com and confirm a score of 9+/10 with SPF, DKIM, and DMARC passing.
- Google Postmaster Tools configured: Register your domain with Google Postmaster Tools to track domain and IP reputation.
- Automated bounce tracking: Verify that hard and soft bounces are captured via signed webhooks (see our guide on email bounce processing automation).
What Reloop's dashboard does for you
When you add a sending domain in the Reloop dashboard, the platform simplifies the entire authentication lifecycle:
- Automated Key Generation: Reloop automatically provisions dedicated RSA-2048 DKIM key pairs for your domain.
- One-Click DNS Directives: Copy ready-to-paste SPF, DKIM, and DMARC records tailored to your specific domain structure.
- Live DNS Status Probing: Reloop periodically queries your DNS records and provides real-time verification indicators in the dashboard.
- Deliverability & Bounce Management: Built-in bounce classification, real-time email analytics, and suppression lists keep your sender reputation safe.
- Developer APIs & Drop-in SDKs: Send authenticated mail via Node.js, Python, or Go SDKs or drop-in SMTP relay.
Whether you choose Reloop Cloud pricing for managed deliverability or self-host Reloop on your own infrastructure (for under $5/mo with our self-host tutorial), the authentication requirements remain identical.
Common gotchas & deliverability pitfalls
1. Subdomain vs. root domain sending
If you send notifications from notifications.yourdomain.com, your SPF and DKIM records must be added directly to the notifications subdomain DNS zone. While DMARC policies on the root domain (yourdomain.com) automatically protect subdomains by default, SPF and DKIM do not inherit down.
2. IP warming for high-volume senders
Email authentication establishes your domain identity, but it does not replace IP and domain reputation. If you plan to send more than 10,000 emails per day, follow our structured IP warming sequence guide to avoid triggering algorithmic spam filters at Gmail and Microsoft.
3. Separating transactional and marketing streams
Never mix transactional receipts with marketing newsletters on the same sending domain or IP. Protect your mission-critical password resets and auth tokens by isolating them on a dedicated transactional subdomain (see transactional email best practices).
Read more

Why Your Emails Land In Spam & How to Fix It
The definitive guide to diagnosing and fixing email spam folder placement, covering authentication, content, reputation, list hygiene, and ISP-specific issues.
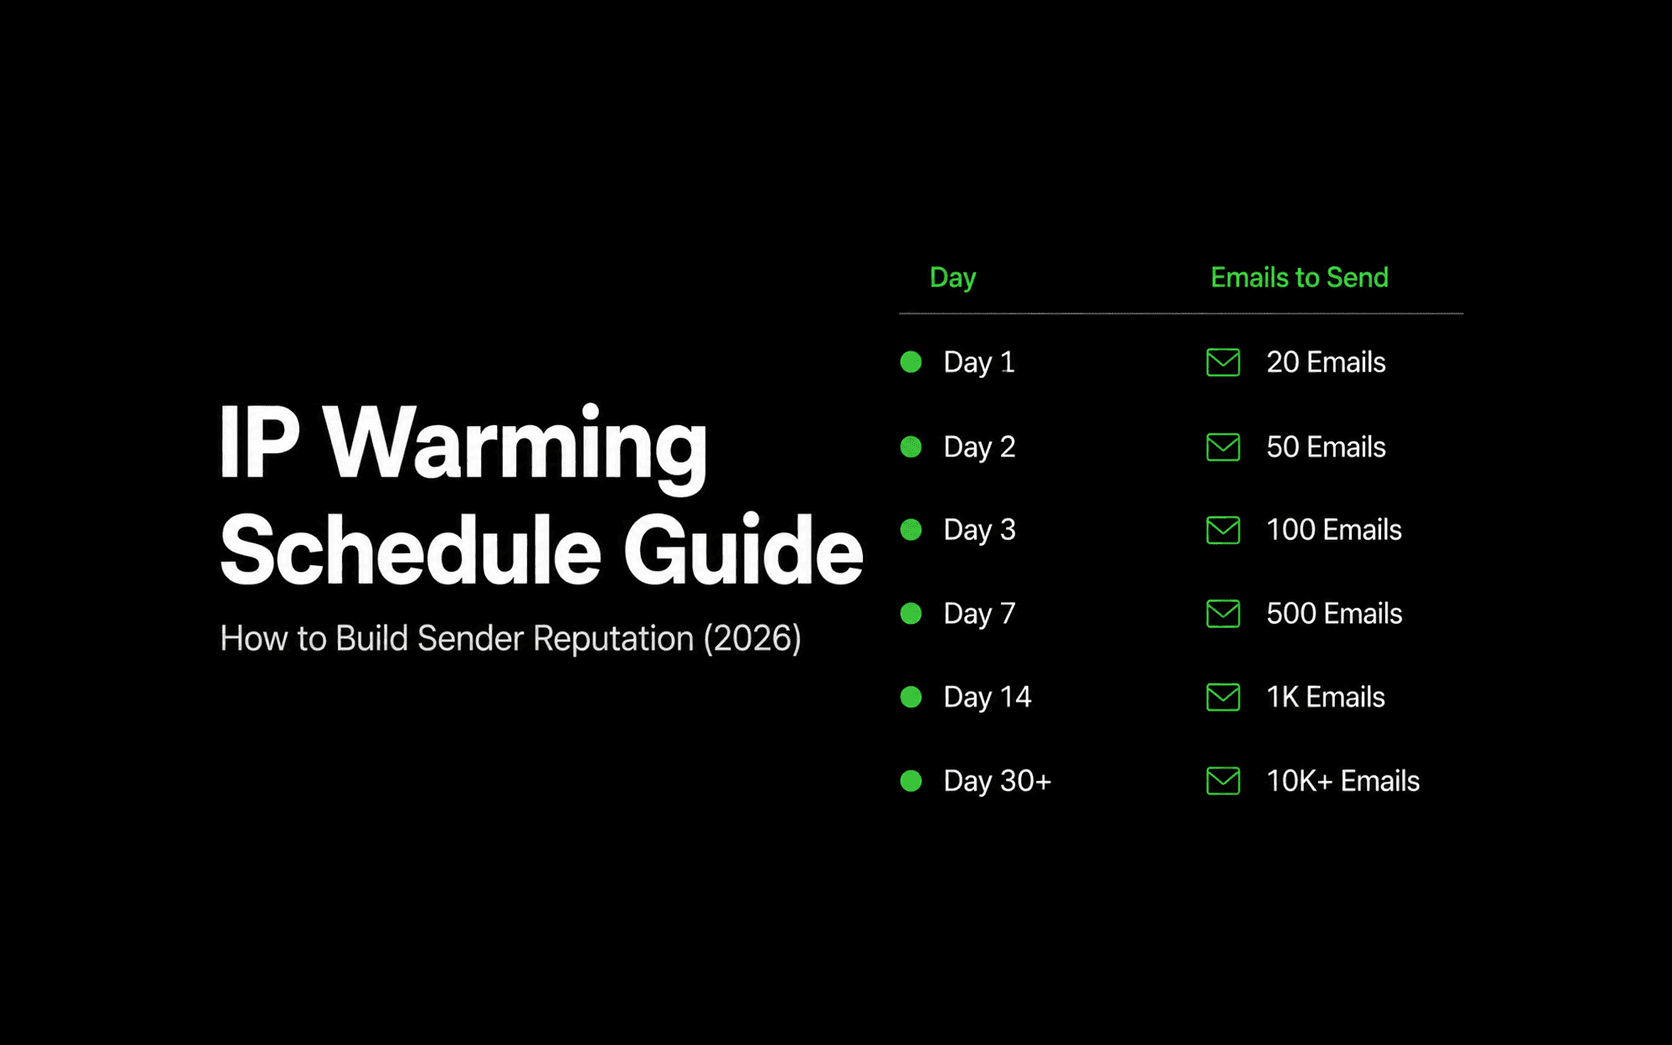
IP Warming Schedule Guide: How to Build Sender Reputation (2026)
A comprehensive, practical guide to warming new sending IP addresses, with an exact week-by-week volume ramp schedule, recipient segmentation strategy, throttle limits, and deliverability monitoring.
How We Handle Email Bounce Processing Automatically
Inside Reloop's bounce processing pipeline: classifying hard vs soft bounces, updating suppression lists, and protecting sender reputation automatically.
Transactional Email Best Practices: The Complete Developer Guide
Everything you need to send fast, reliable, inbox-landing transactional email, from domain setup and template design to delivery patterns and monitoring.
Ship your first email with Reloop
in minutes.
Open-source, deliverability-focused, and yours to self-host or run on Reloop Cloud. No lock-in, no rewrite later.